
DIY Coffee Bar Ideas: How to Build a Coffee Bar or Coffee Station at Home
This post has affiliate links. If you buy through them, I may earn a small commission at no extra cost to you. As an Amazon Associate I earn from qualifying purchases. How I pick products
On this page
A DIY coffee bar is a coffee station you build or convert yourself: a sealed top 30 to 36 inches high, storage for mugs and beans, and an outlet within reach of the cord. Start with what you already own (a dresser, a cart, a shelf or a cleared counter), and spend money only on the top, the finish and the hardware.
Below are 12 DIY coffee bar ideas you can copy, then a 6-step build plan with the measurements that keep a coffee maker safe and usable. The products I mention are picked from Amazon listings and specs, not tested in my home. This page is part of my coffee bar furniture series.
DIY coffee bar ideas for home
There are 12 DIY coffee bar ideas here, sorted from the biggest build to the smallest: furniture flips first, then wall builds, then nooks and countertop setups. Each card lists the size, the cost tier ($ to $$$) and whether a renter can do it.
1. Flip an old dresser or sideboard
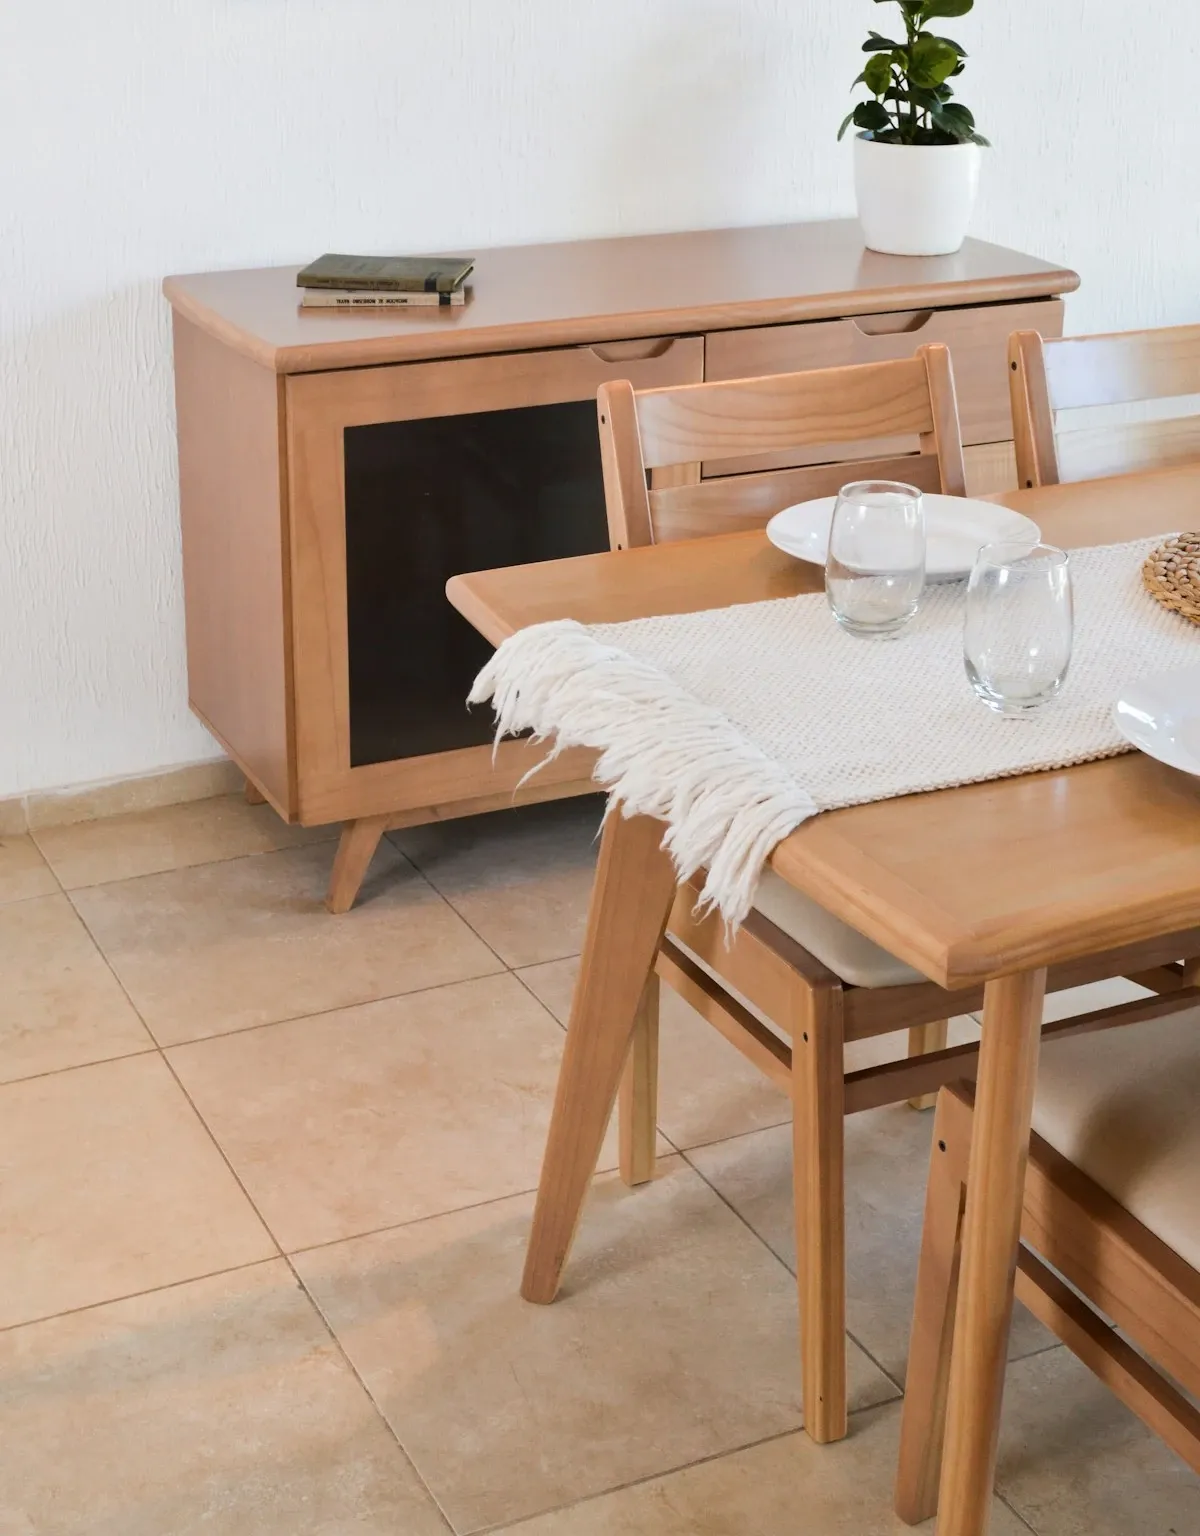
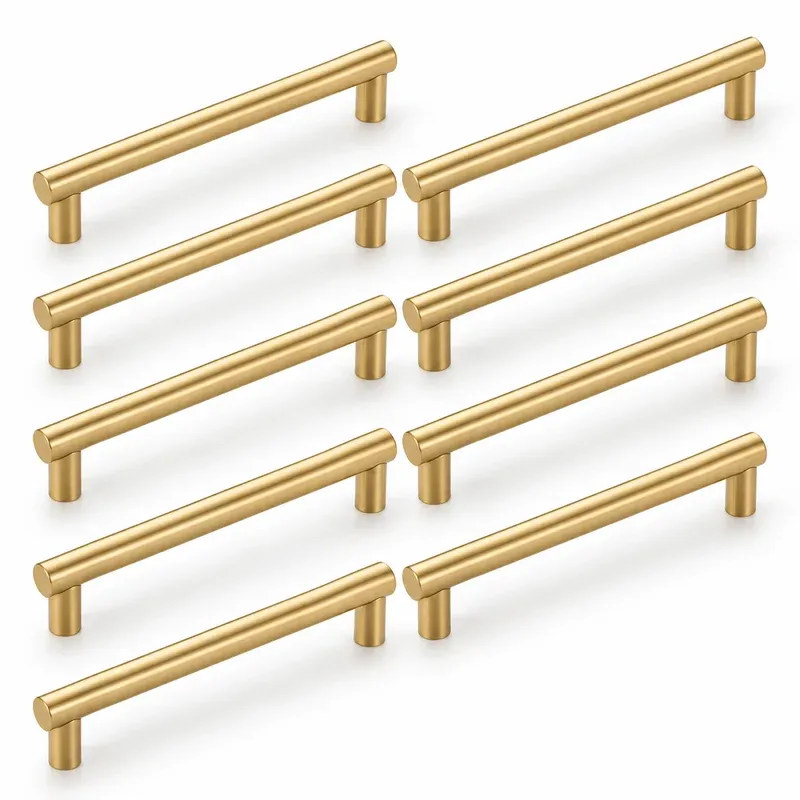
A dresser makes the classic DIY coffee bar. Sand the top, paint the body, swap the knobs for 5-inch brass pulls, and use the drawers for pods, filters and spoons. Check that the top is 2 inches deeper than your coffee maker, and strap the dresser to a stud with an anti-tip strap.
2. Hang an industrial pipe shelf over a counter
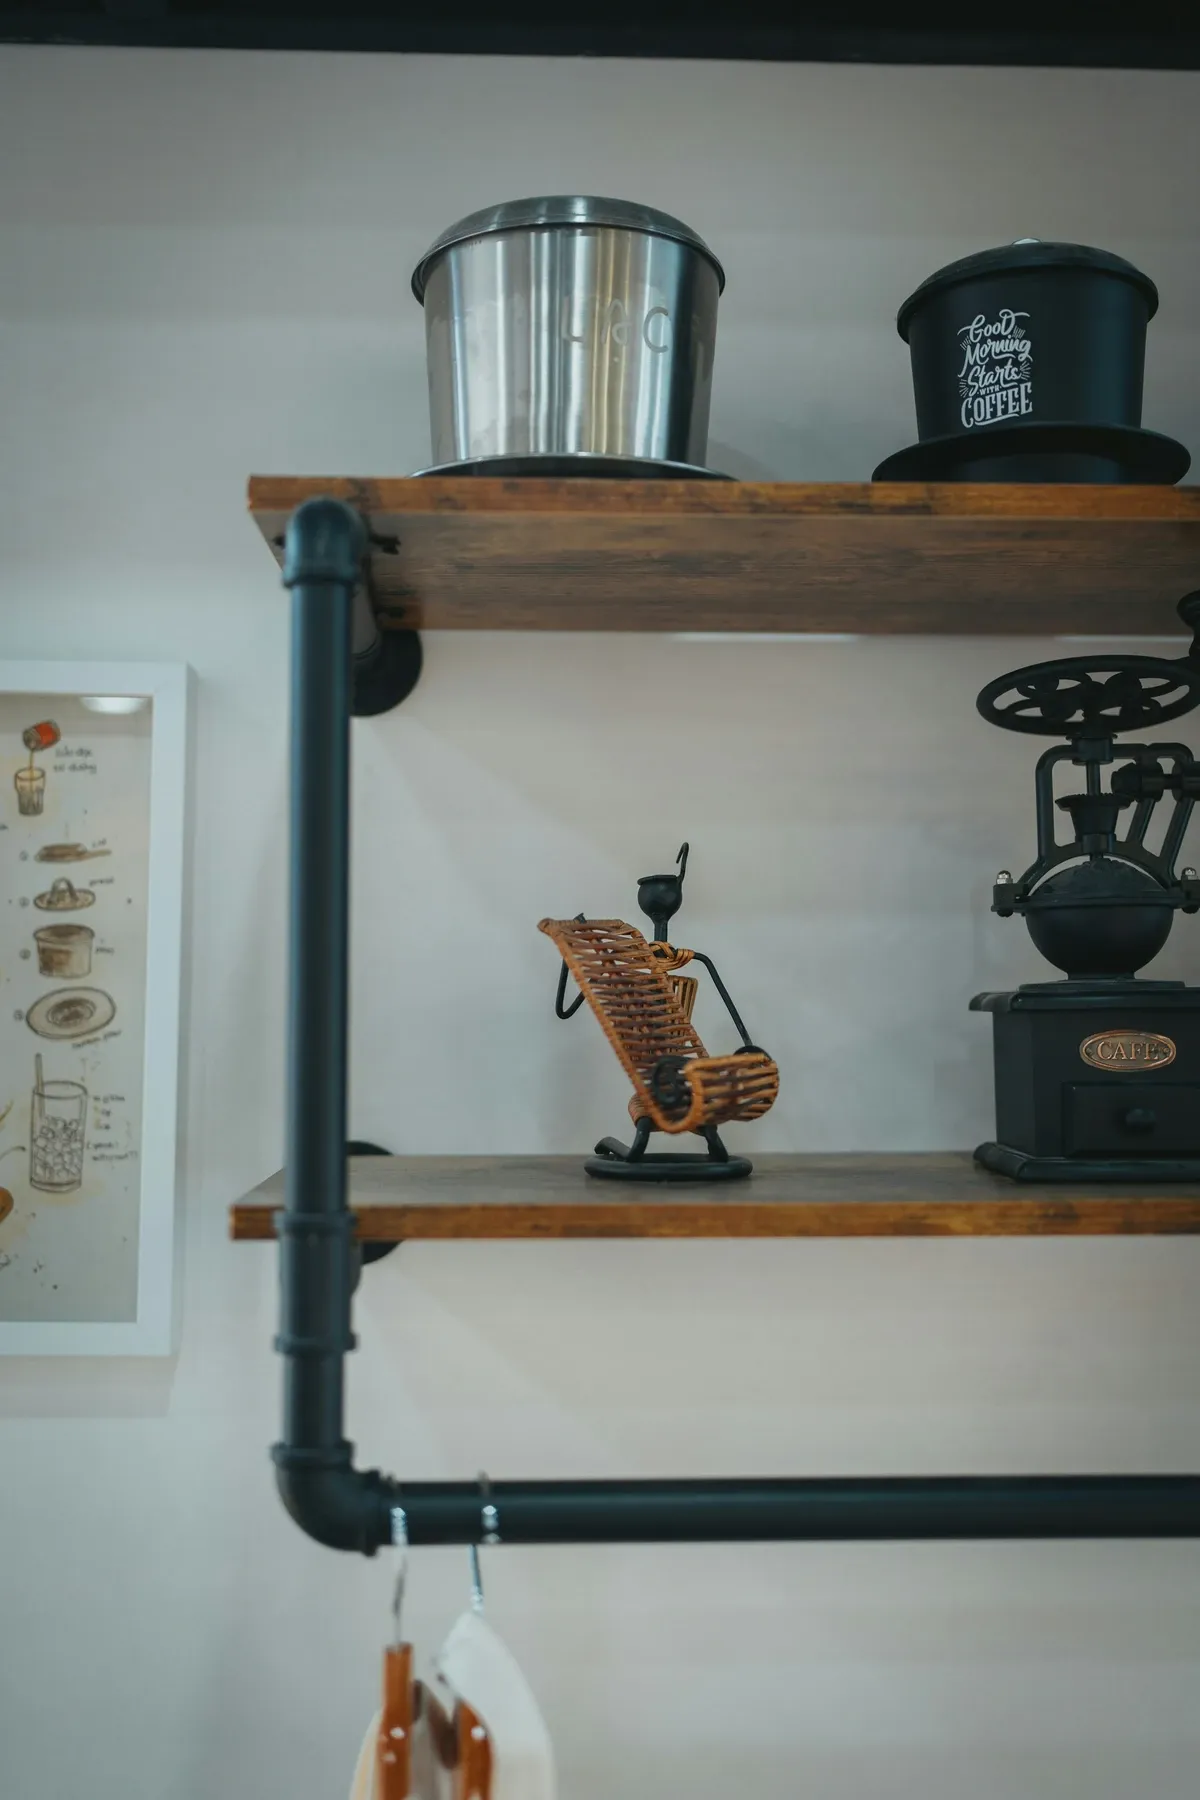
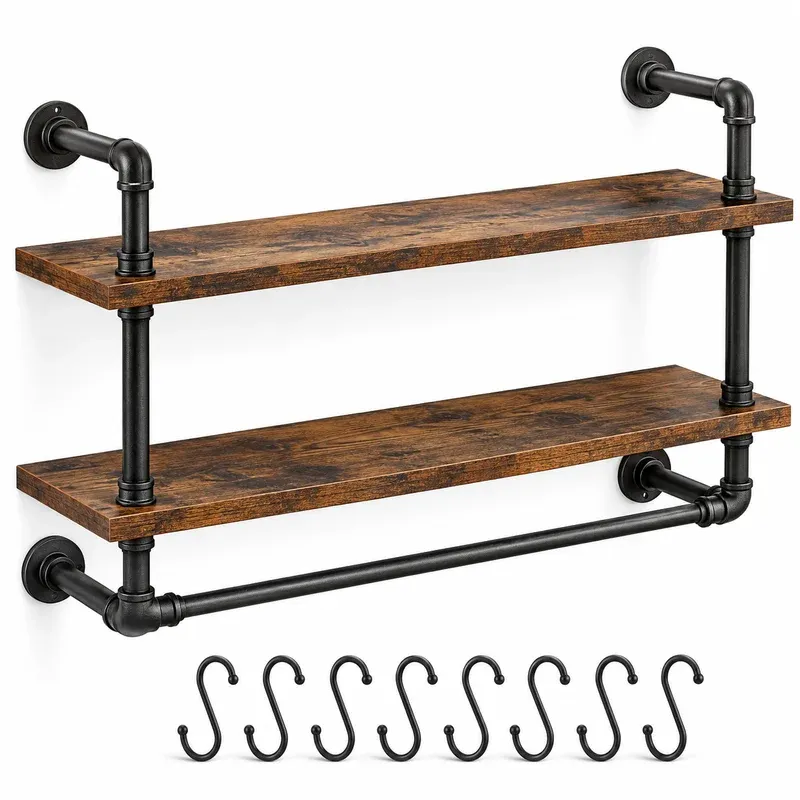
A pipe shelf turns a bare wall into a coffee bar in one afternoon. The Bestier shelf is 31.5 × 9.4 × 25.2 inches with 2 tiers, 8 S-hooks for mugs and a 20 lb limit, so it holds canisters and cups, not a machine. Hang it so the bottom tier sits 18 inches above the counter.
Pipe shelf
Bestier 31" Industrial Pipe Wall Shelf with Towel Bar and 8 Hooks
- Best for
- An industrial coffee wall over a 30 to 36 in counter
- Why it's here
- A two-tier wall shelf of iron pipe and rustic brown boards, 31.5 inches wide and 9.4 inches deep, with 8 S-hooks and a towel bar underneath.
- Watch out
- 20 lb max for the whole unit. Mugs and jars yes, a stack of stoneware plus a grinder no.
What we like
- Pro: 9.4 in deep fits mugs two rows deep
- Pro: Hooks and towel bar built in
- Pro: Pipe look suits industrial kitchens
Keep in mind
- Con: Low 20 lb limit
- Con: Particleboard shelves
Affiliate link · Price may change
3. Stack floating shelves above the brewer
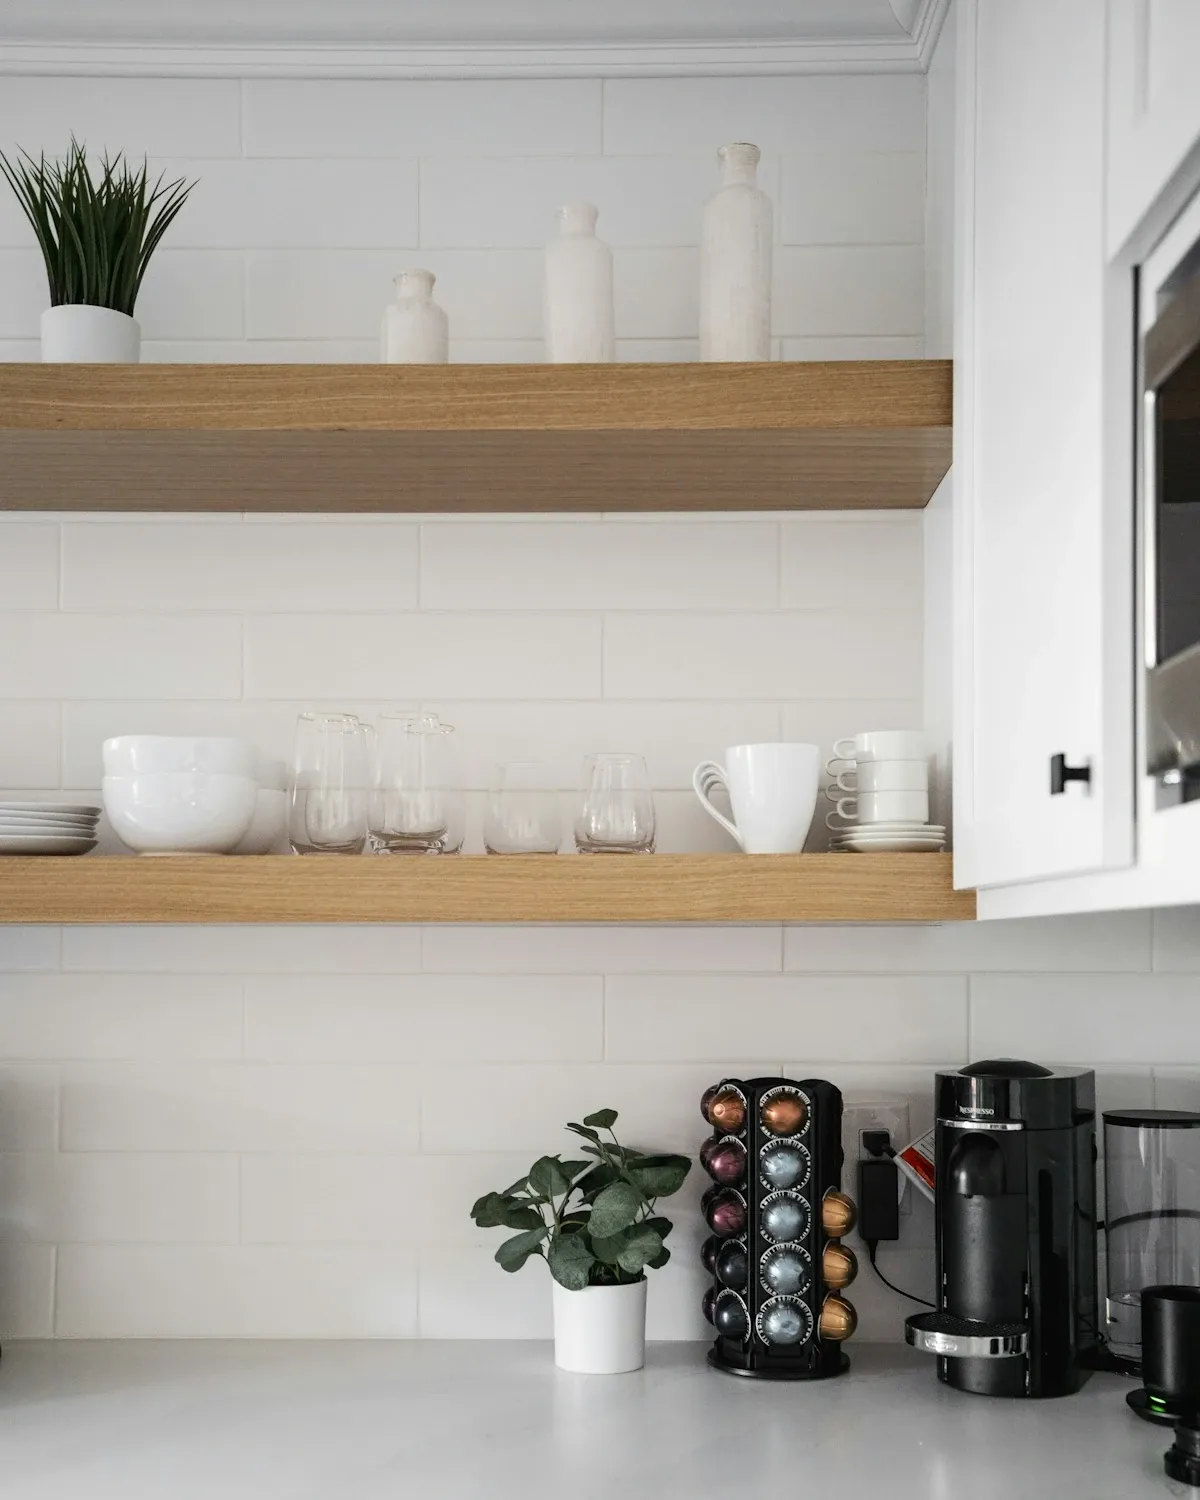
Two floating shelves over a cleared counter cost less than any cabinet. Screw each bracket into at least 2 studs; in most US walls studs sit 16 inches apart, so a 36-inch shelf usually catches 2. My coffee bar shelves guide covers depths and spacing.
4. Build a pegboard coffee wall
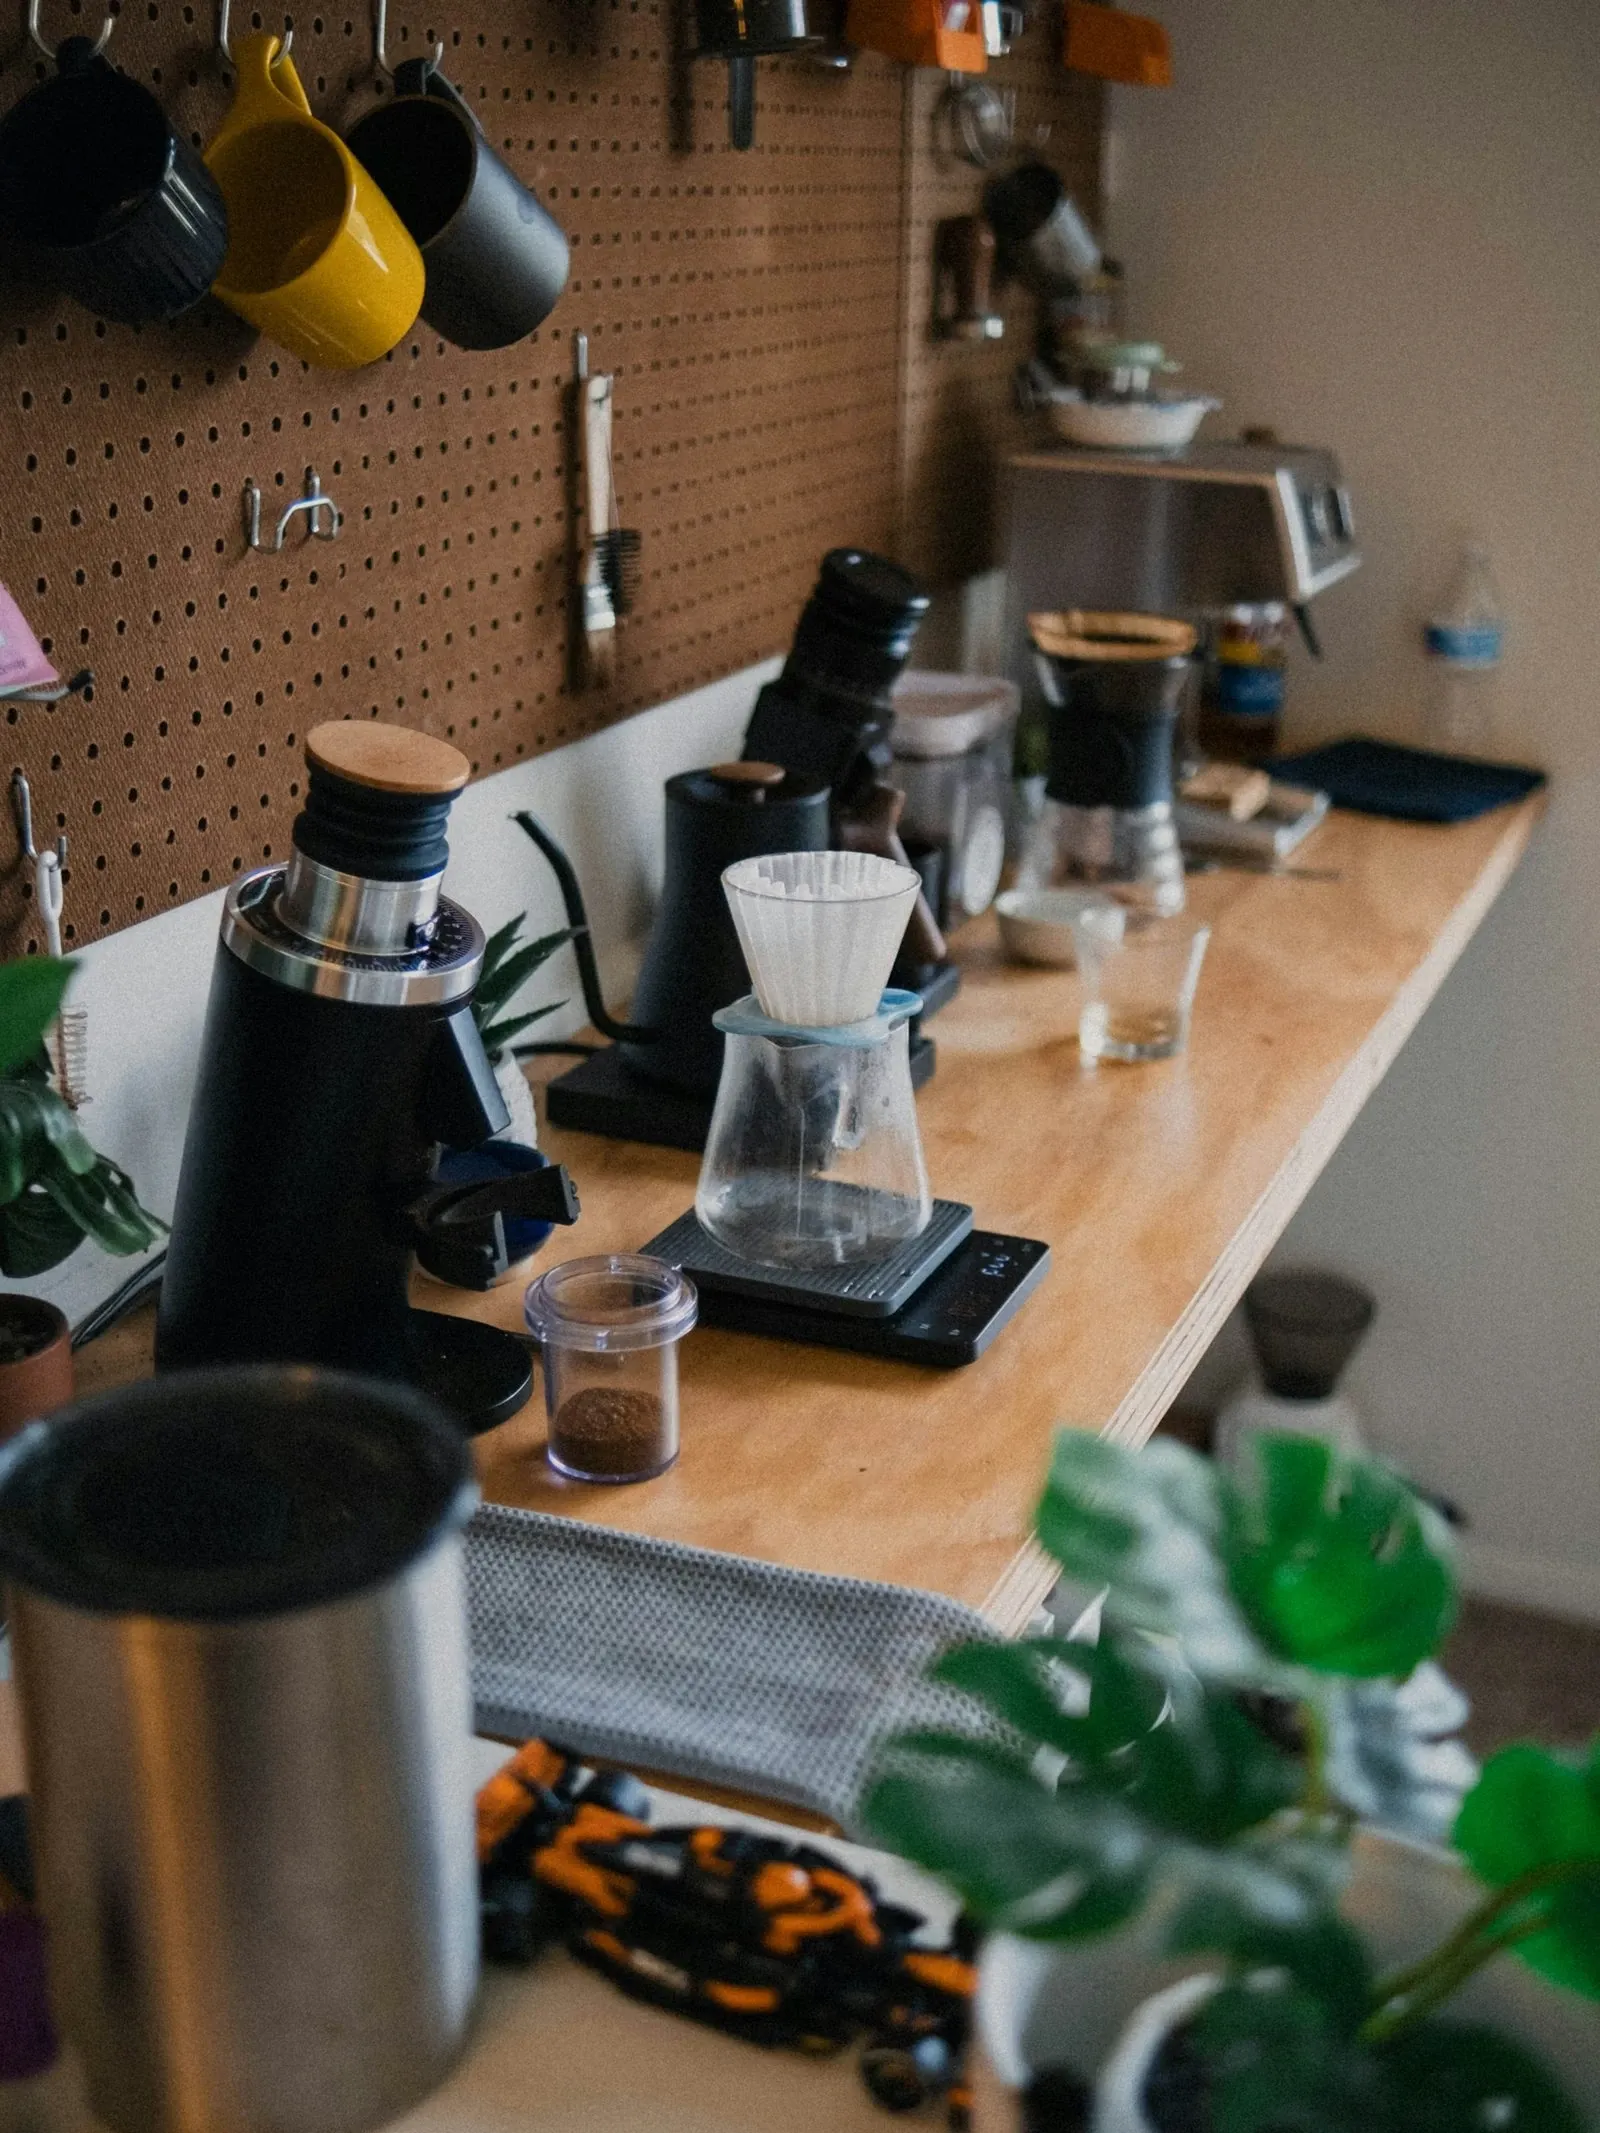
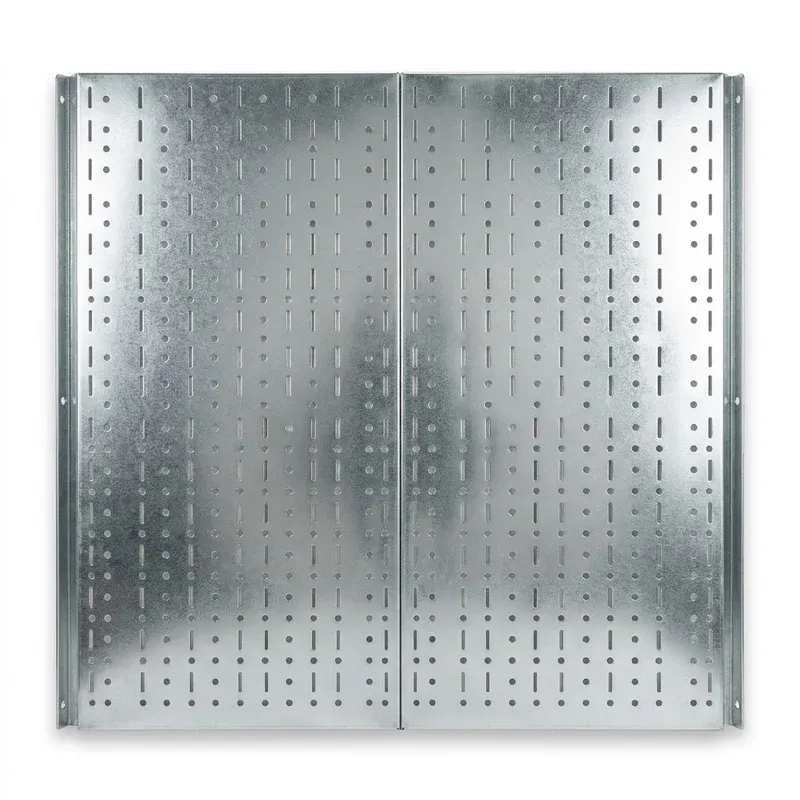
A pegboard holds mugs, filters, scoops and a small shelf on one flat panel you can rearrange. The Wall Control pack is two 16 × 32 inch galvanized steel panels with a built-in 3/4-inch flange, so they screw to studs or drywall without a frame. Paint it to match the wall.
Pegboard wall
Wall Control Galvanized Steel Pegboard Pack, 2 Panels (30-P-3232GV)
- Best for
- A pegboard coffee wall for mugs, shelves and tools
- Why it's here
- Two 16 × 32 in galvanized steel pegboard panels (32 × 32 in total) with a 3/4 in formed flange, so they screw straight to studs or drywall with no frame.
- Watch out
- Hooks and shelves are sold separately; Wall Control's slotted accessories fit best.
- Price
- $$ · Mid
What we like
- Pro: No furring strips needed
- Pro: Steel holes don't wear out
- Pro: Paintable surface
Keep in mind
- Con: Accessories cost extra
- Con: Industrial look unless painted
Affiliate link · Price may change
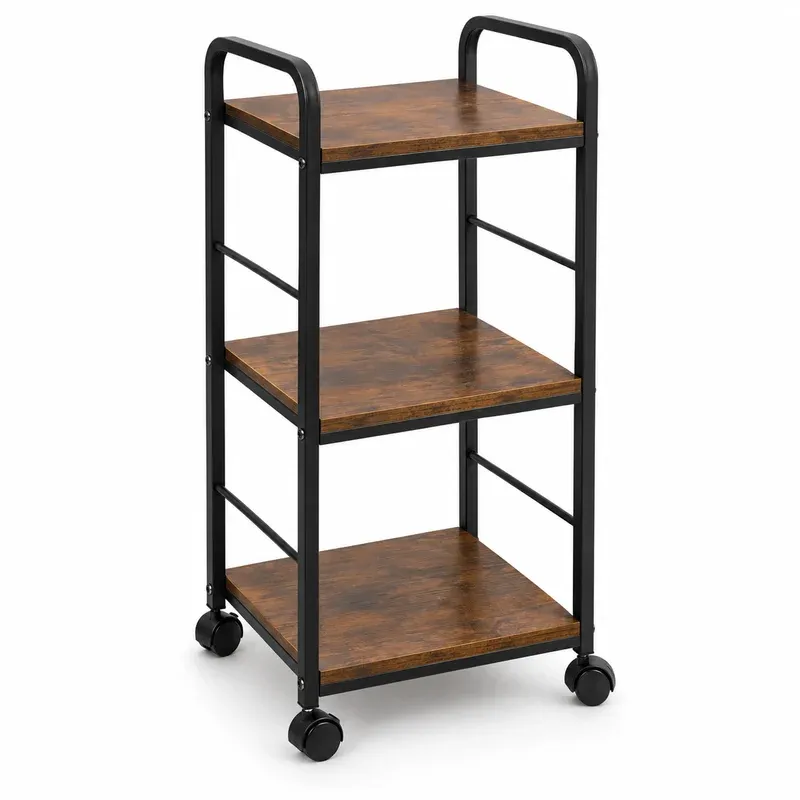
5. Convert a rolling cart into a coffee bar
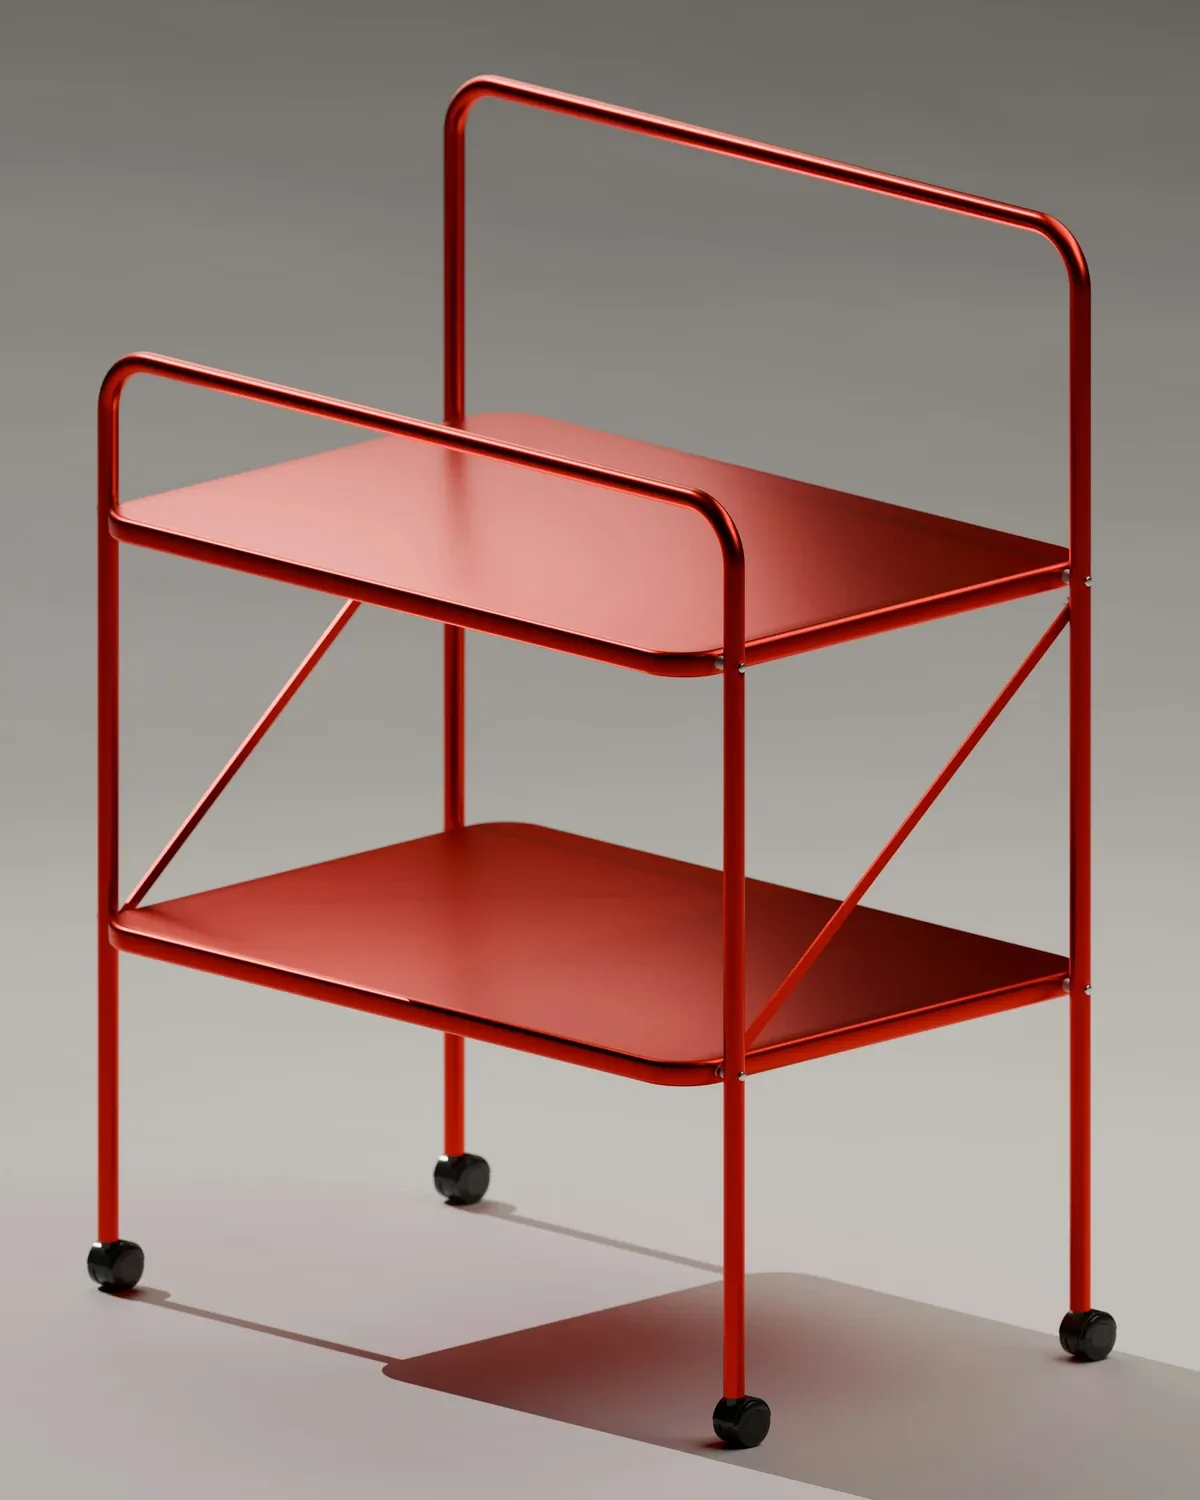
A 3-tier rolling cart is the easiest DIY coffee station for renters: brewer on top, mugs in the middle, beans and backstock below. Lock the wheels before you brew. The coffee bar cart guide has finished setups.
Cart base
Mind Reader 3-Tier Rolling Cart, Wood and Metal
- Best for
- Renters and small kitchens that need a coffee bar on wheels
- Why it's here
- A three-shelf rolling cart with a metal frame and wood-look MDF shelves. Machine on top, mugs in the middle, backstock on the bottom shelf.
- Watch out
- Only two of the four casters lock, so park it against a wall if your machine is heavy.
- Price
- $ · Save
What we like
- Pro: Moves to wherever the outlet is
- Pro: No drilling, no install
- Pro: Cheap enough to try the idea first
Keep in mind
- Con: Small top for a full-size espresso machine
- Con: MDF shelves don't like standing water
Check Price on Amazon for Mind Reader 3-Tier Rolling Cart, Wood and Metal (opens in a new tab)
Affiliate link · Price may change
6. Add a butcher block top to base cabinets
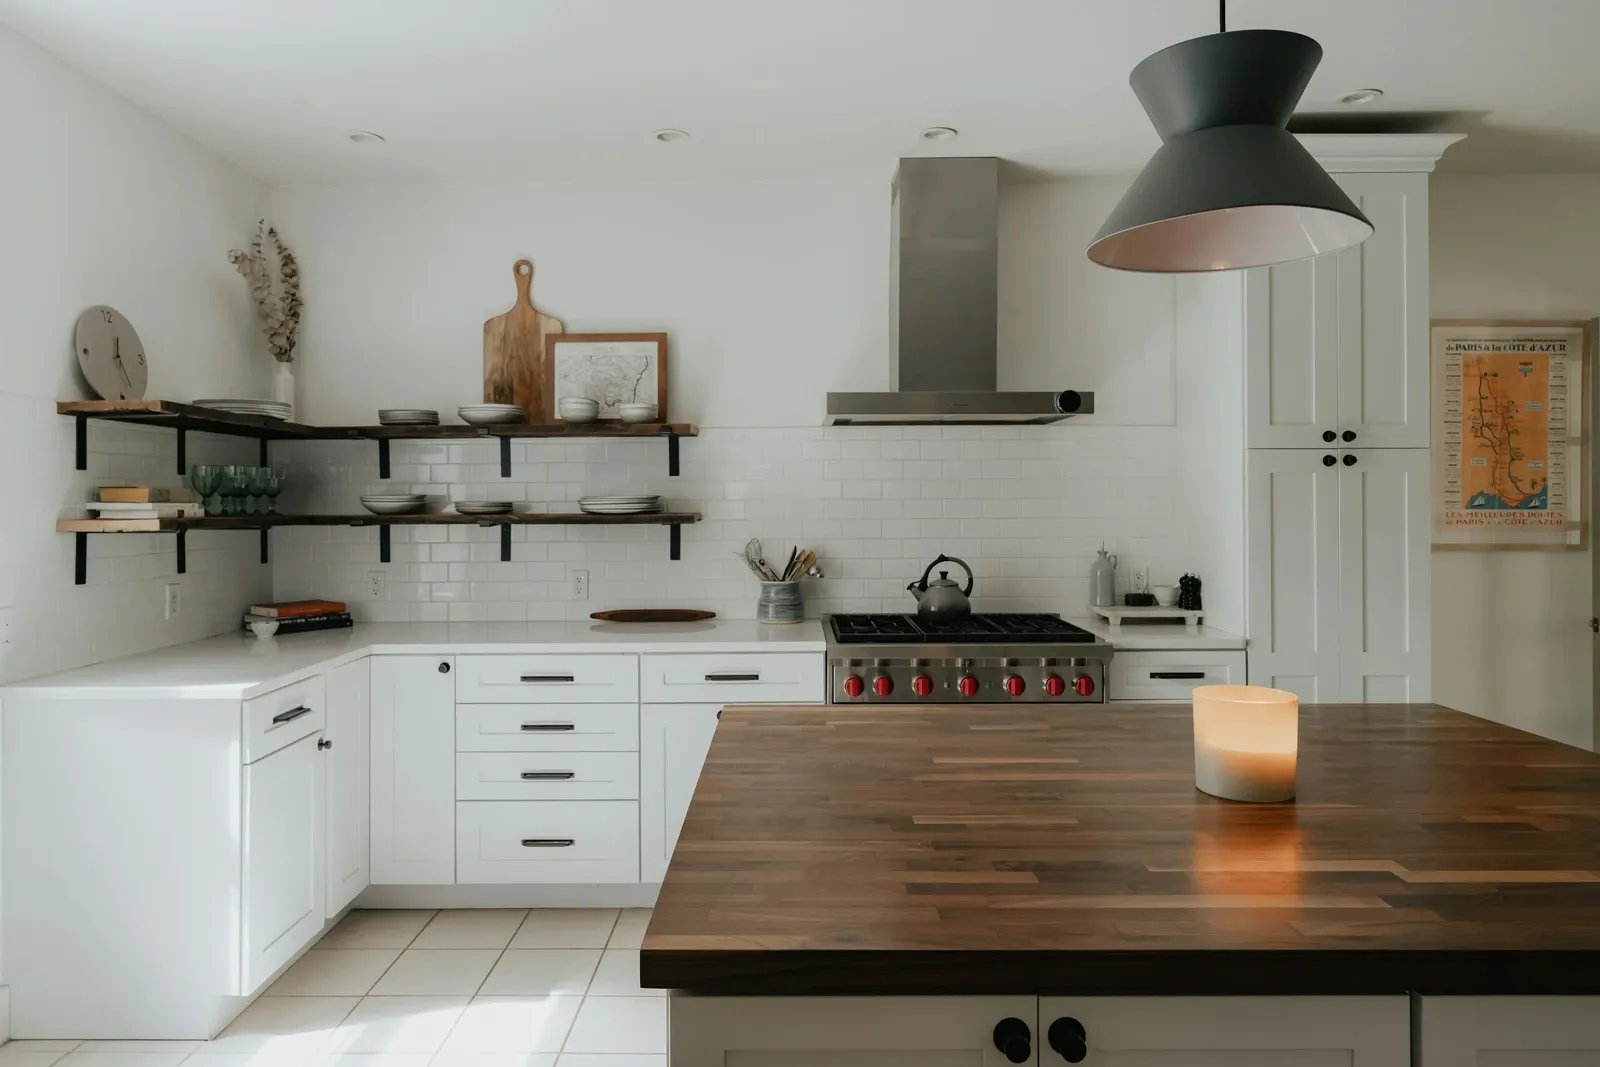
Two flat-pack base cabinets plus a 1.5-inch butcher block slab make a built-in coffee bar at 36 inches, the standard US counter height. Cut the slab 1 inch deeper than the cabinets for an overhang, oil it before use, and drill a 2-inch grommet hole at the back for cords. My IKEA coffee bar ideas show cabinet pairings.
7. Turn a closet into a hidden coffee bar
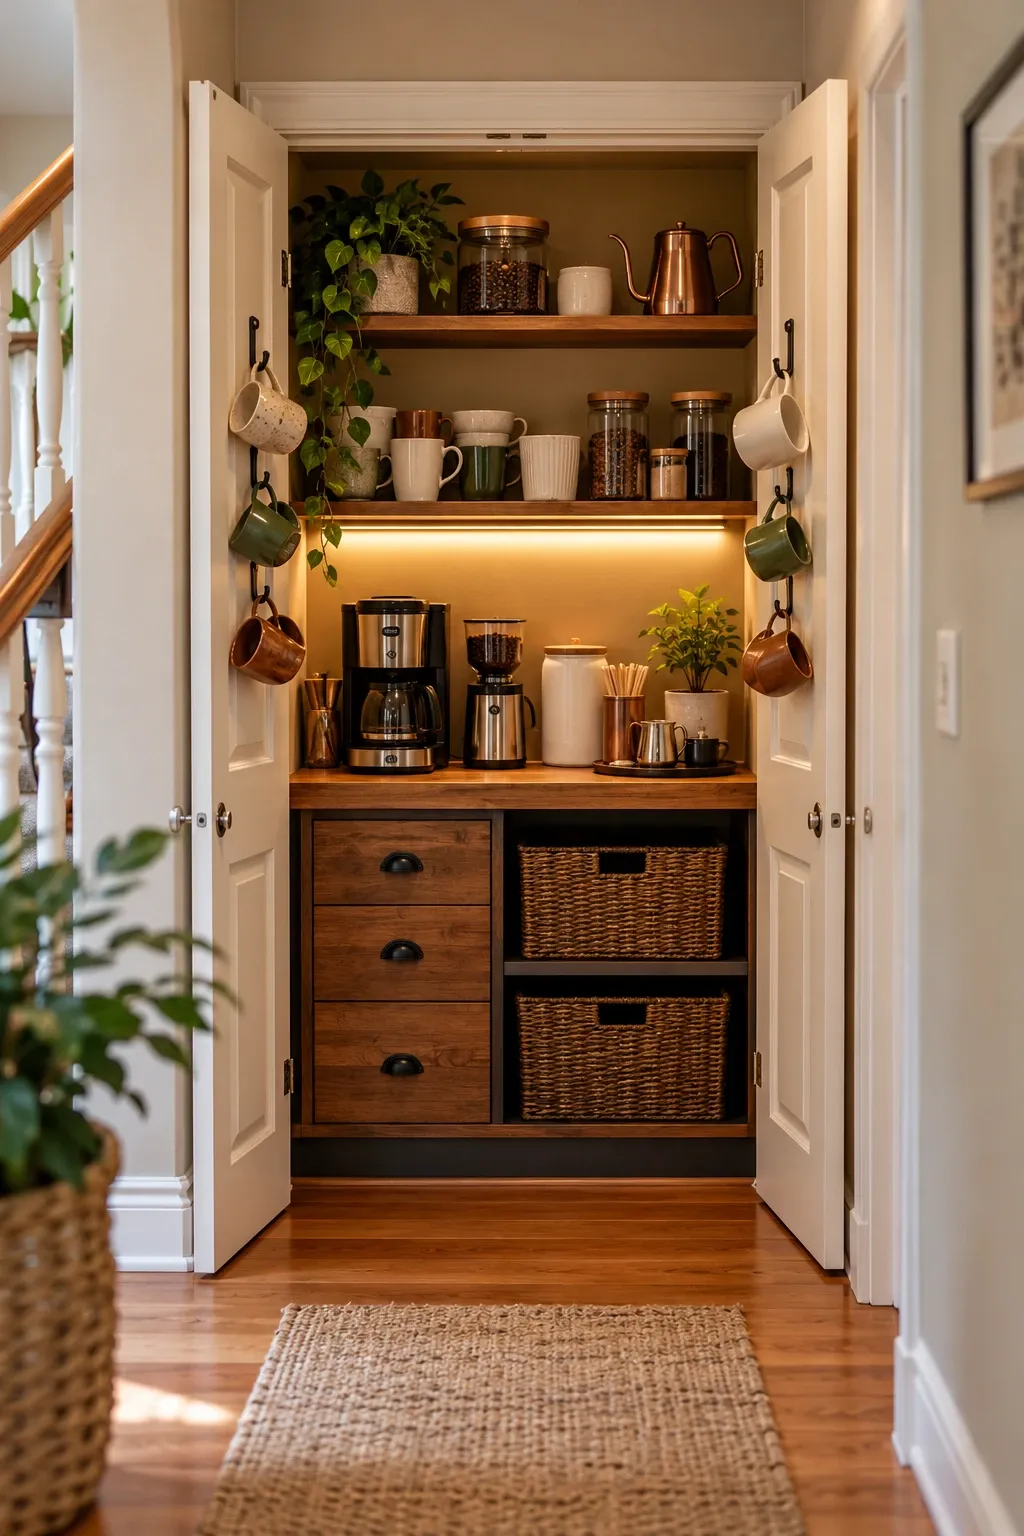
A reach-in closet becomes a coffee bar you can close after breakfast. Add a shelf at 36 inches for the brewer and 2 shelves above. Brew with the doors open, since heat and steam trapped behind doors damage wood. An outlet inside the closet is a job for an electrician.
8. Fit a coffee nook under the stairs
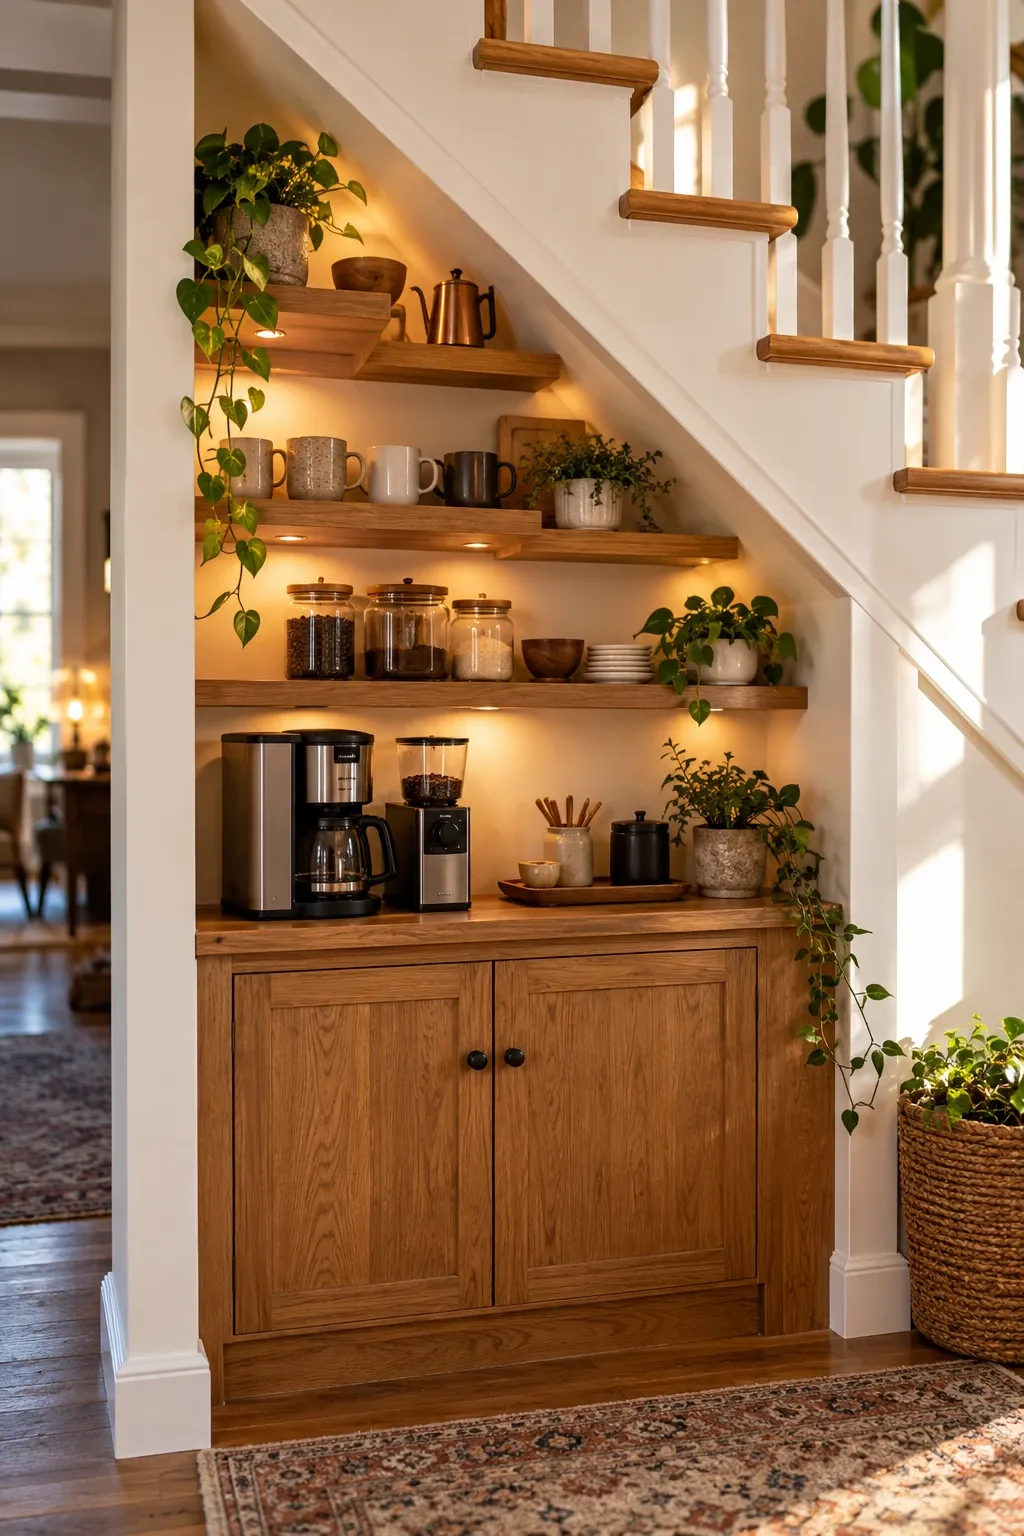
The space under a staircase fits a short counter and shelves. Put the machine at the tall, open end, never under the slope, so the lid opens and steam escapes.
9. Use a cube shelf as a coffee station
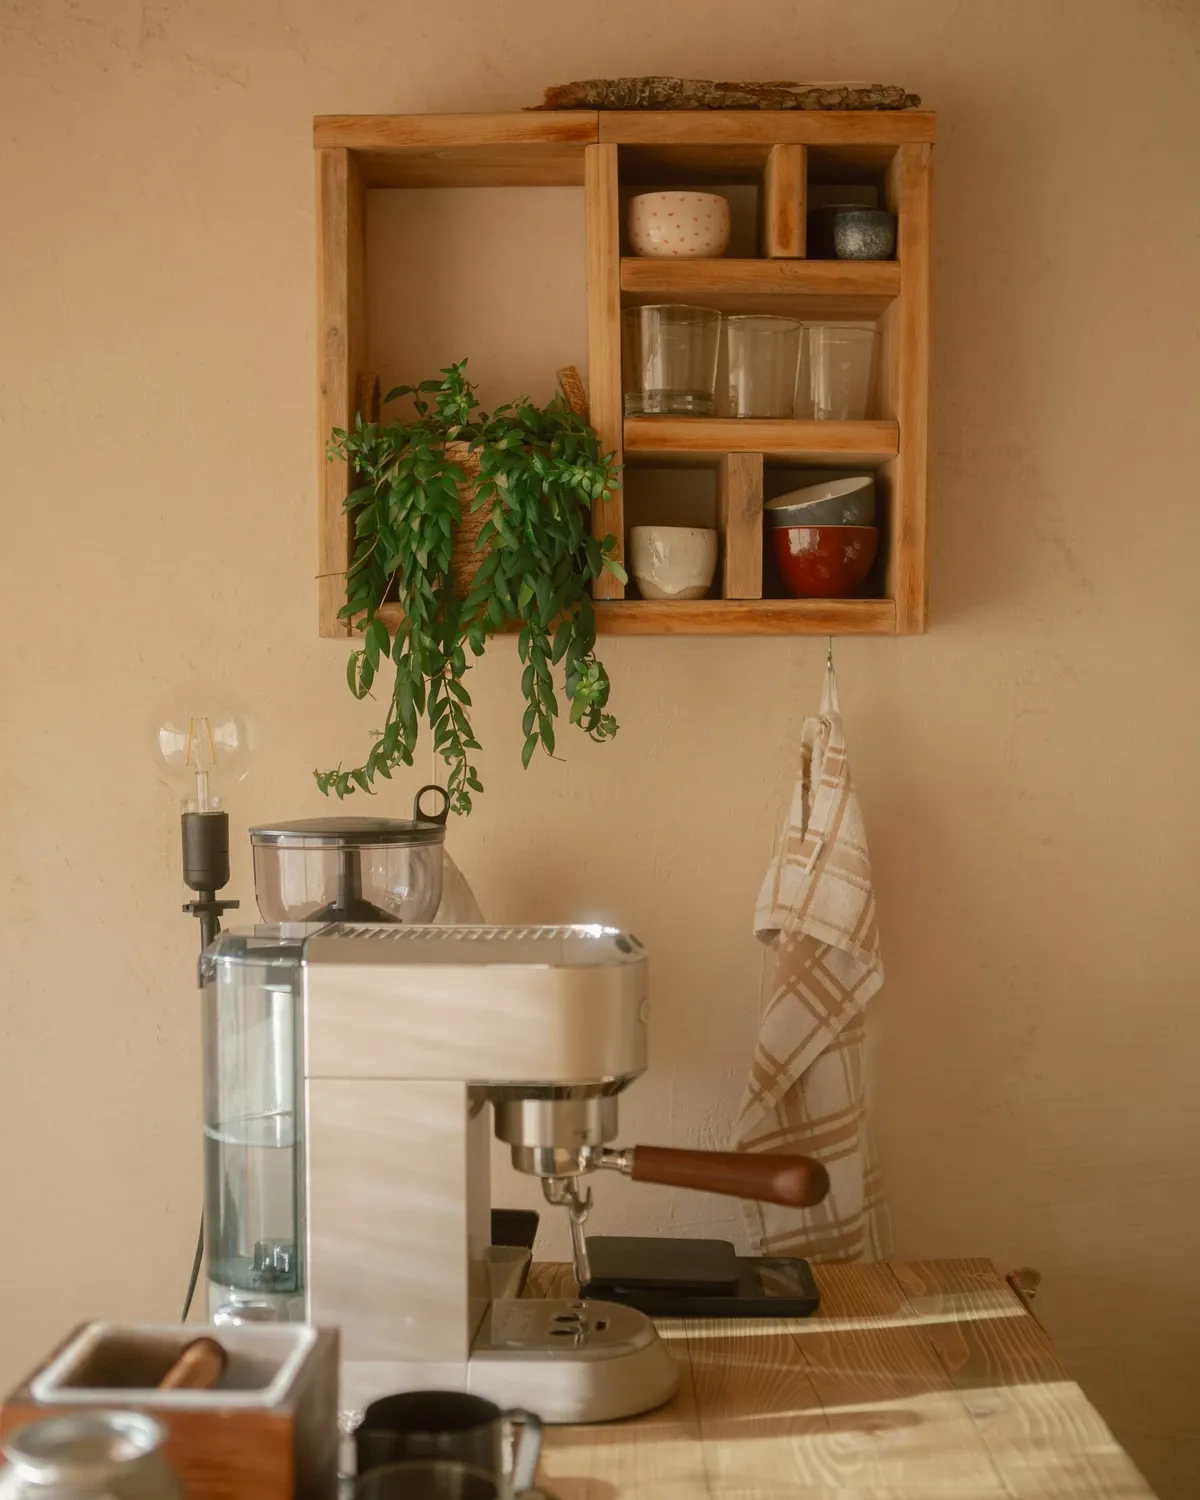
A 2-row cube shelf turned on its side is a low coffee bar with built-in cubbies. Fill the cubes with bins for pods and filters, put a cutting board or tray on top as a wipeable surface, and anchor the unit to the wall.
10. Add a peel-and-stick backsplash and lights
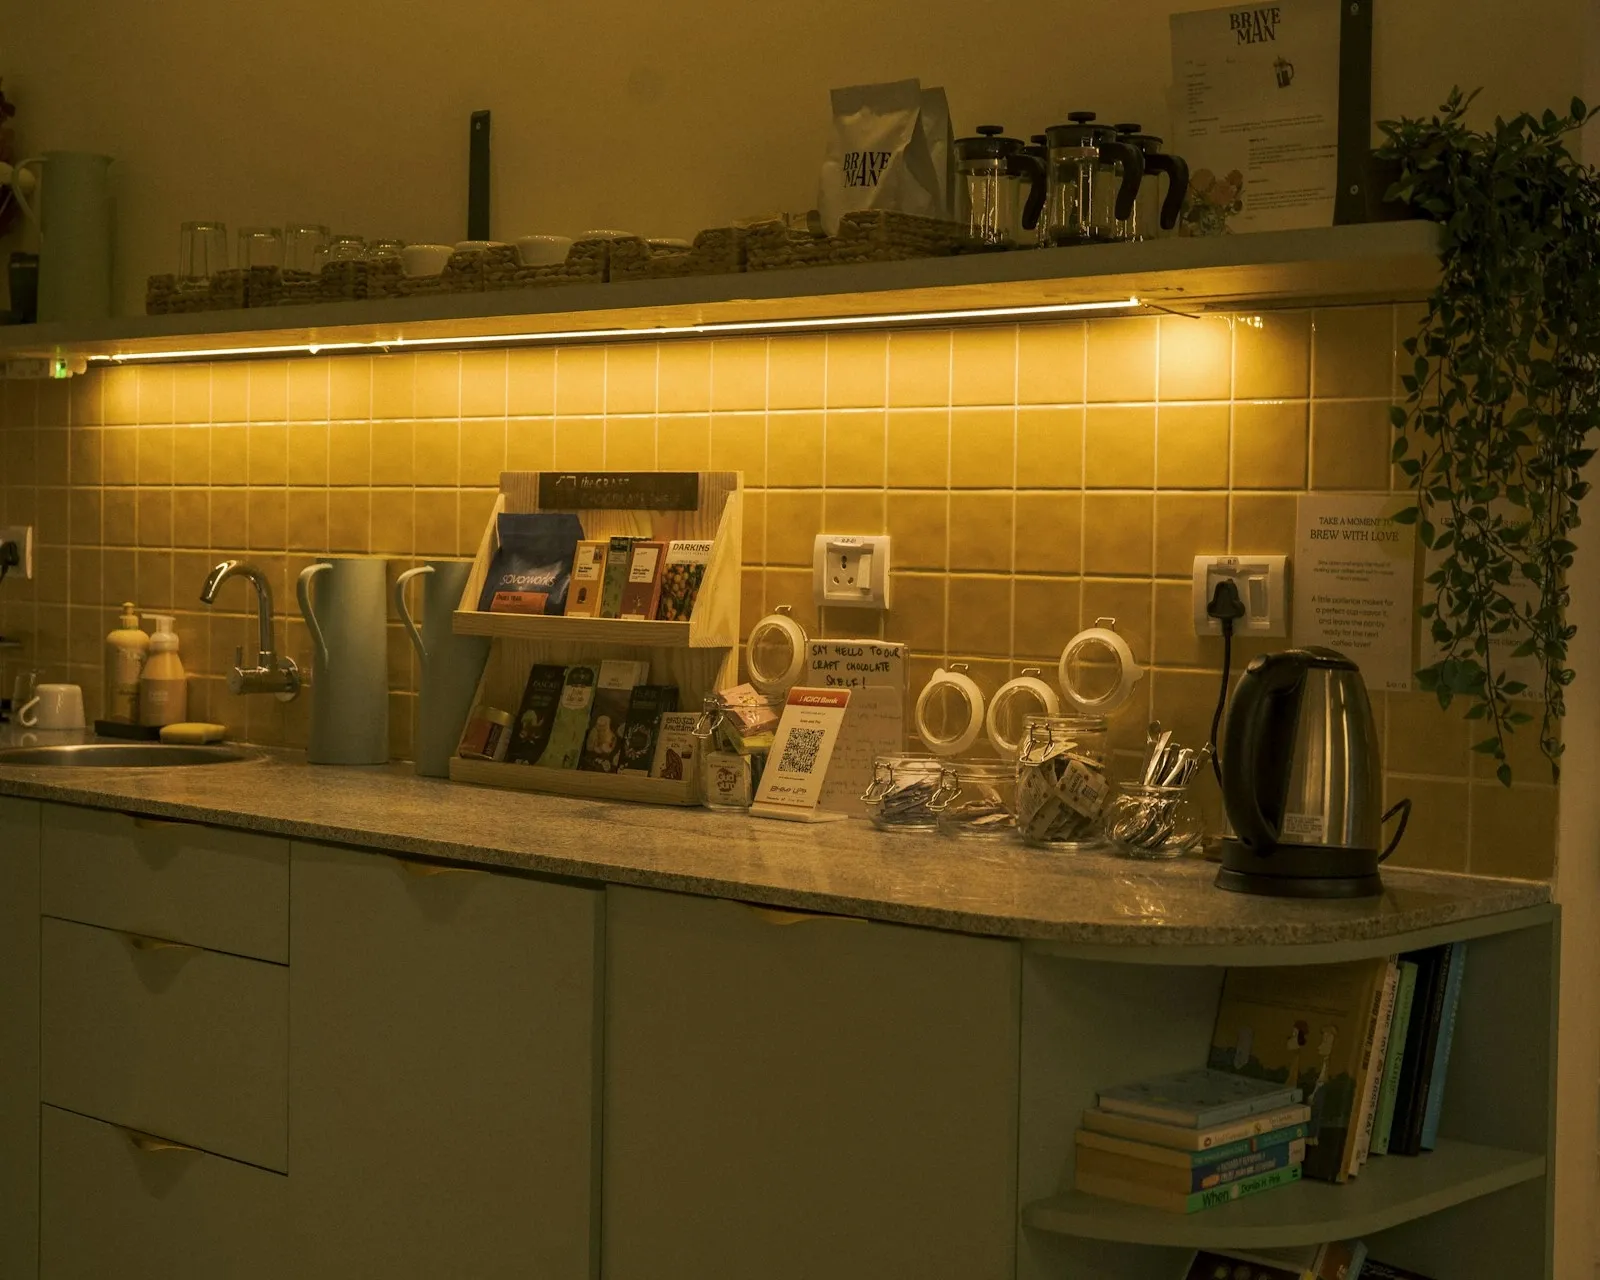
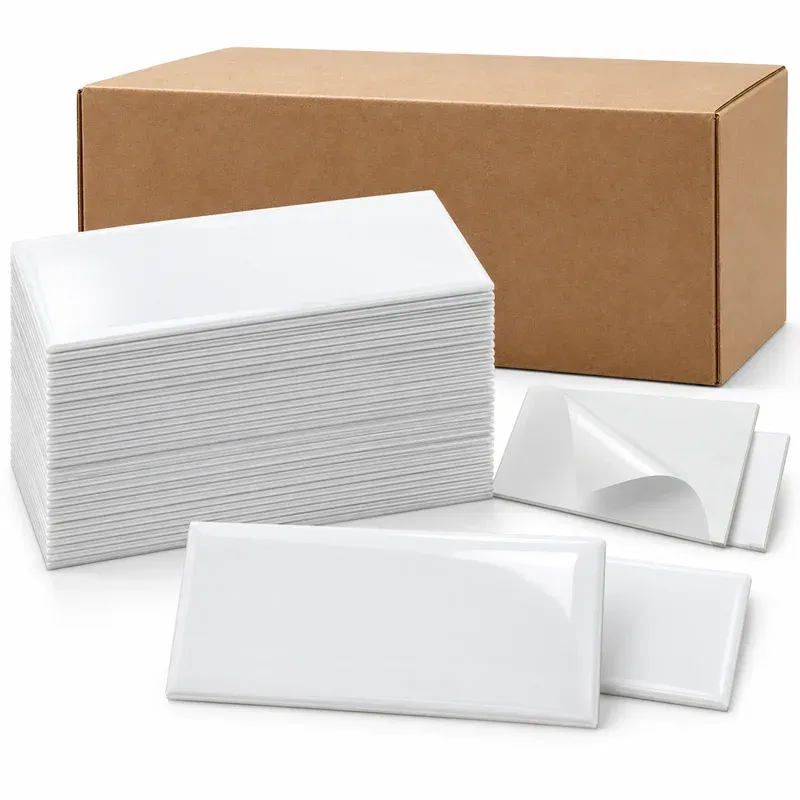
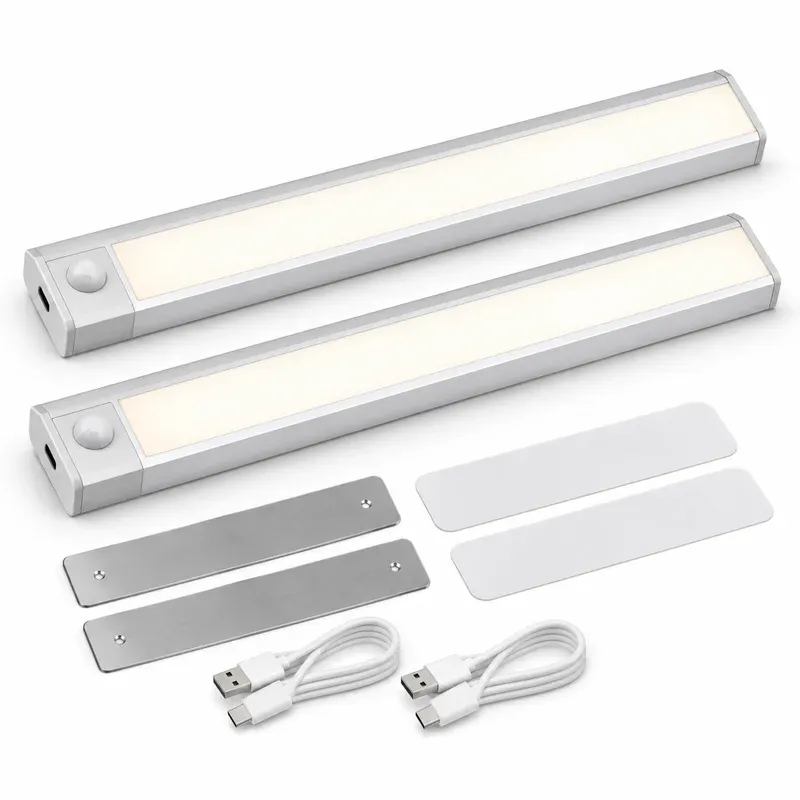
A backsplash and lights make any counter corner read as a coffee bar. One Art3d pack covers 12.75 square feet with 102 PVC tiles, 3 × 6 inches each. Stick 10-inch rechargeable LED bars under the cabinet, so you don’t need wiring.
Shop the backsplash and lights
11. Hang mugs on a wall rack or under-cabinet hooks
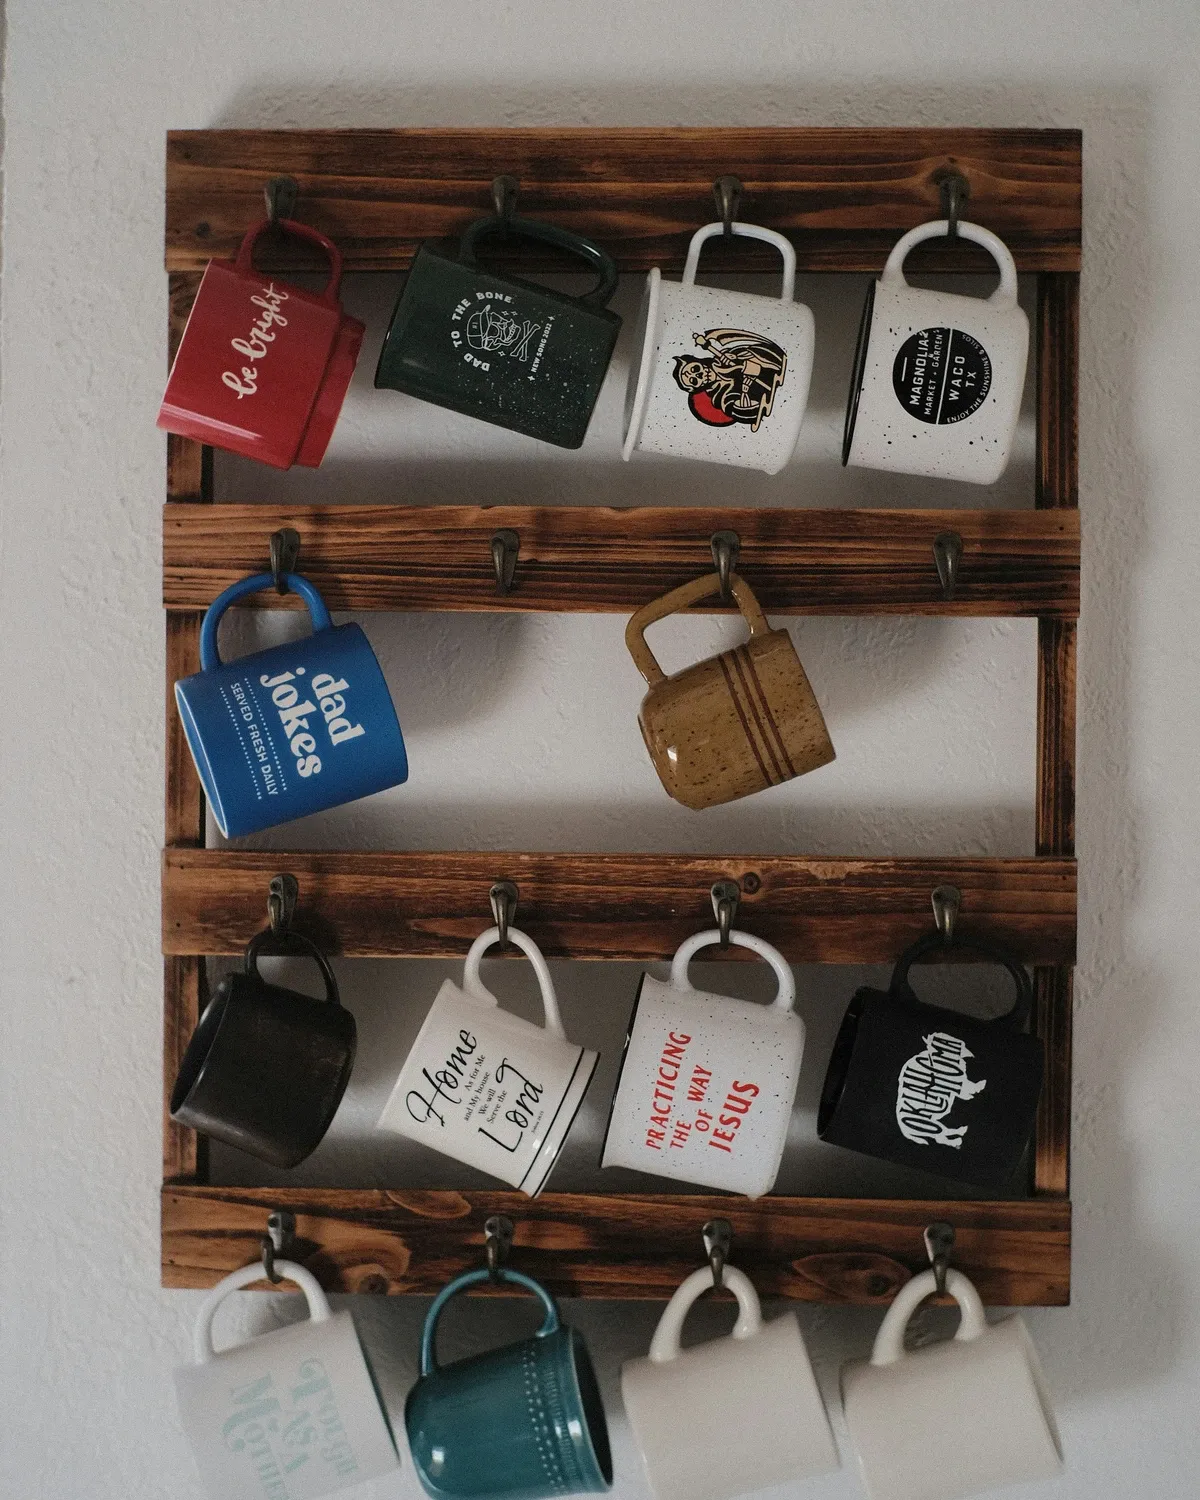
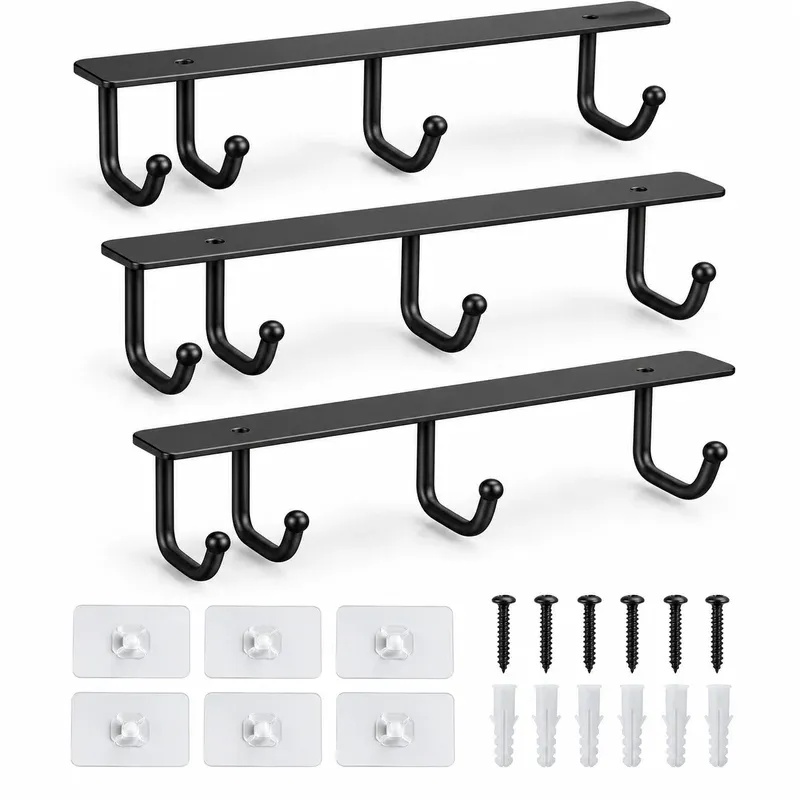
Moving mugs to the wall frees half a shelf. The DEPAOTLUX rails stick or screw under a cabinet; each 10.2-inch rail has 3 hooks and holds 4.4 lb, or about 4 mugs at roughly 1 lb each.
Mug hooks
DEPAOTLUX Under Cabinet Mug Hooks, 3-Pack (Adhesive or Screw)
- Best for
- Renters who want mugs off the counter
- Why it's here
- Three iron rails with 3 hooks each that mount under an upper cabinet with the included adhesive pads or screws. Moves 9 mugs off the counter.
- Watch out
- Rated 4.4 lb per rail. Hang everyday mugs, not heavy stoneware, and test the adhesive on your cabinet finish.
- Price
- $ · Save
What we like
- Pro: No drilling needed with the pads
- Pro: Frees the counter completely
- Pro: Black iron suits modern and farmhouse kitchens
Keep in mind
- Con: Needs a flat cabinet underside
- Con: Adhesive may mark some finishes
Affiliate link · Price may change
12. Set a tray-and-riser station on the counter
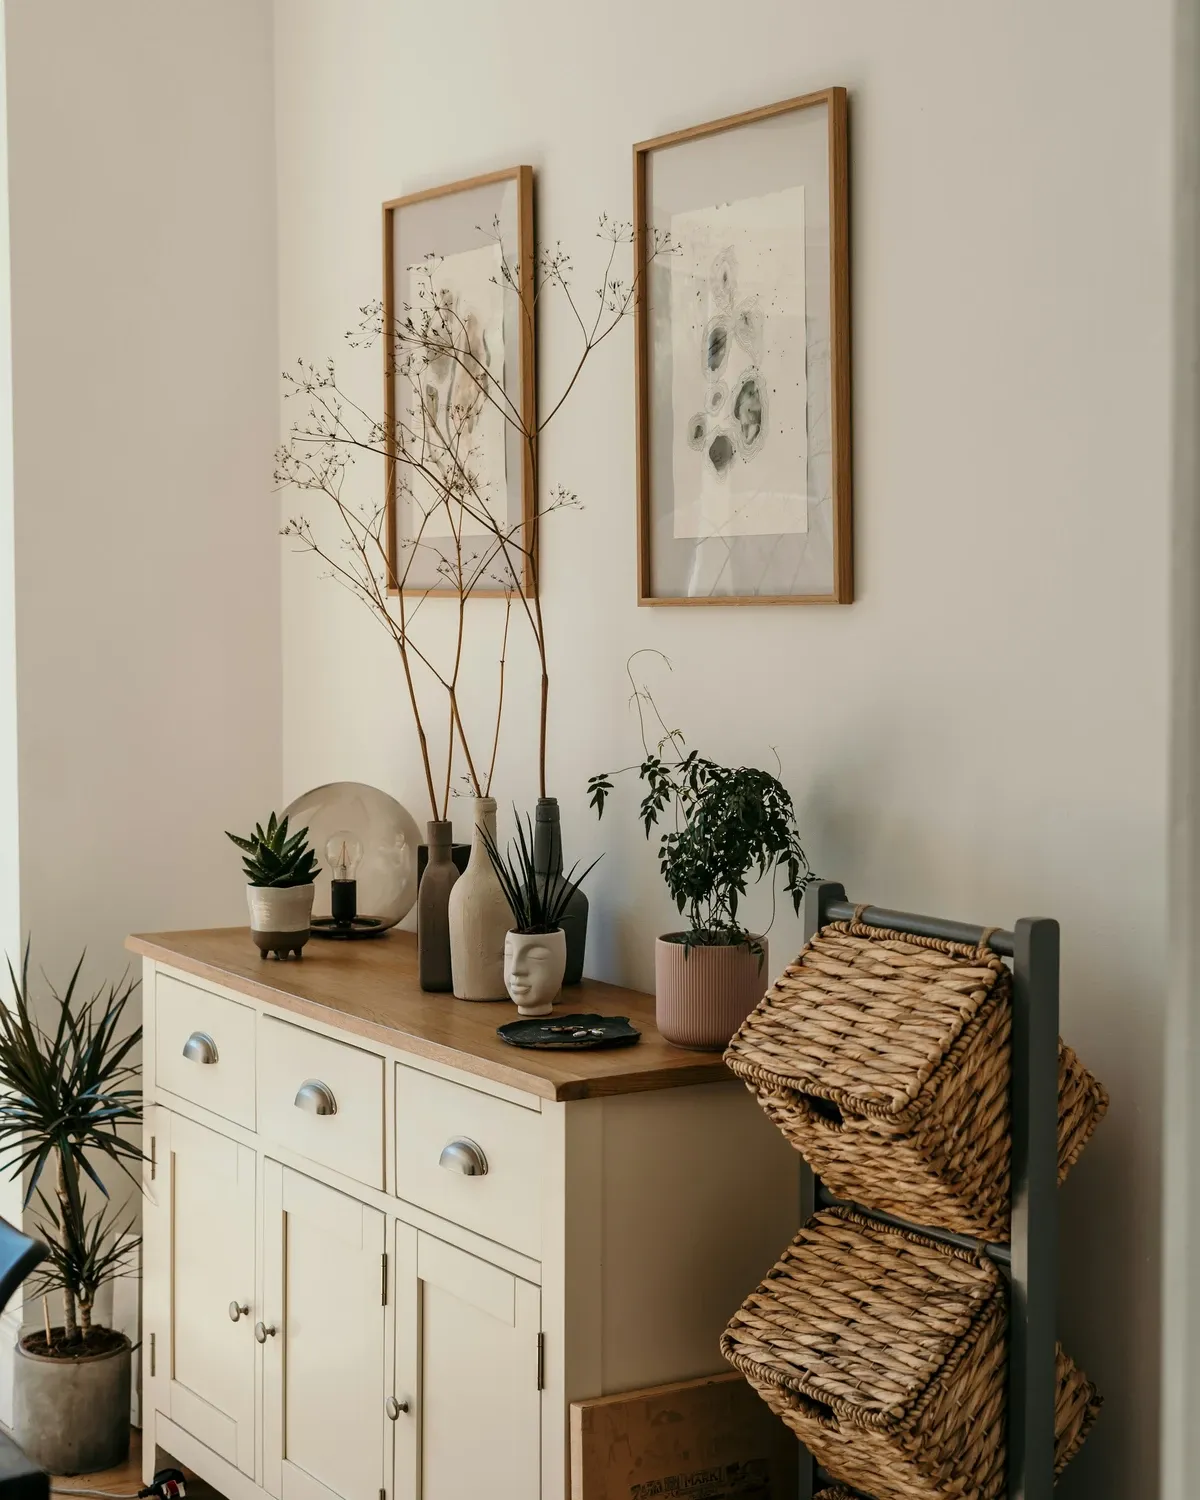
The smallest DIY coffee bar is a tray, a 2-tier riser and a jar of beans next to the brewer. It defines the coffee corner without any building. The countertop coffee station guide has 24-, 36- and 48-inch layouts.
How do you build a DIY coffee bar step by step?
To build a DIY coffee bar, pick a spot within reach of an outlet, set a sealed top 30 to 36 inches high and at least 2 inches deeper than your coffee maker, then add storage above or below. The 6 steps below fit a dresser flip, a cabinet build or a shelf wall.
- Measure the machine. Write down its width, depth and height with the lid or handle open. Add 6 inches of width for a mug spot and 5 inches for a grinder.
- Pick the spot. Choose a wall within cord reach of an outlet; plug the brewer straight into the wall, not an extension cord.
- Build or level the base. Level a dresser with shims, or screw base cabinets together and to the wall studs.
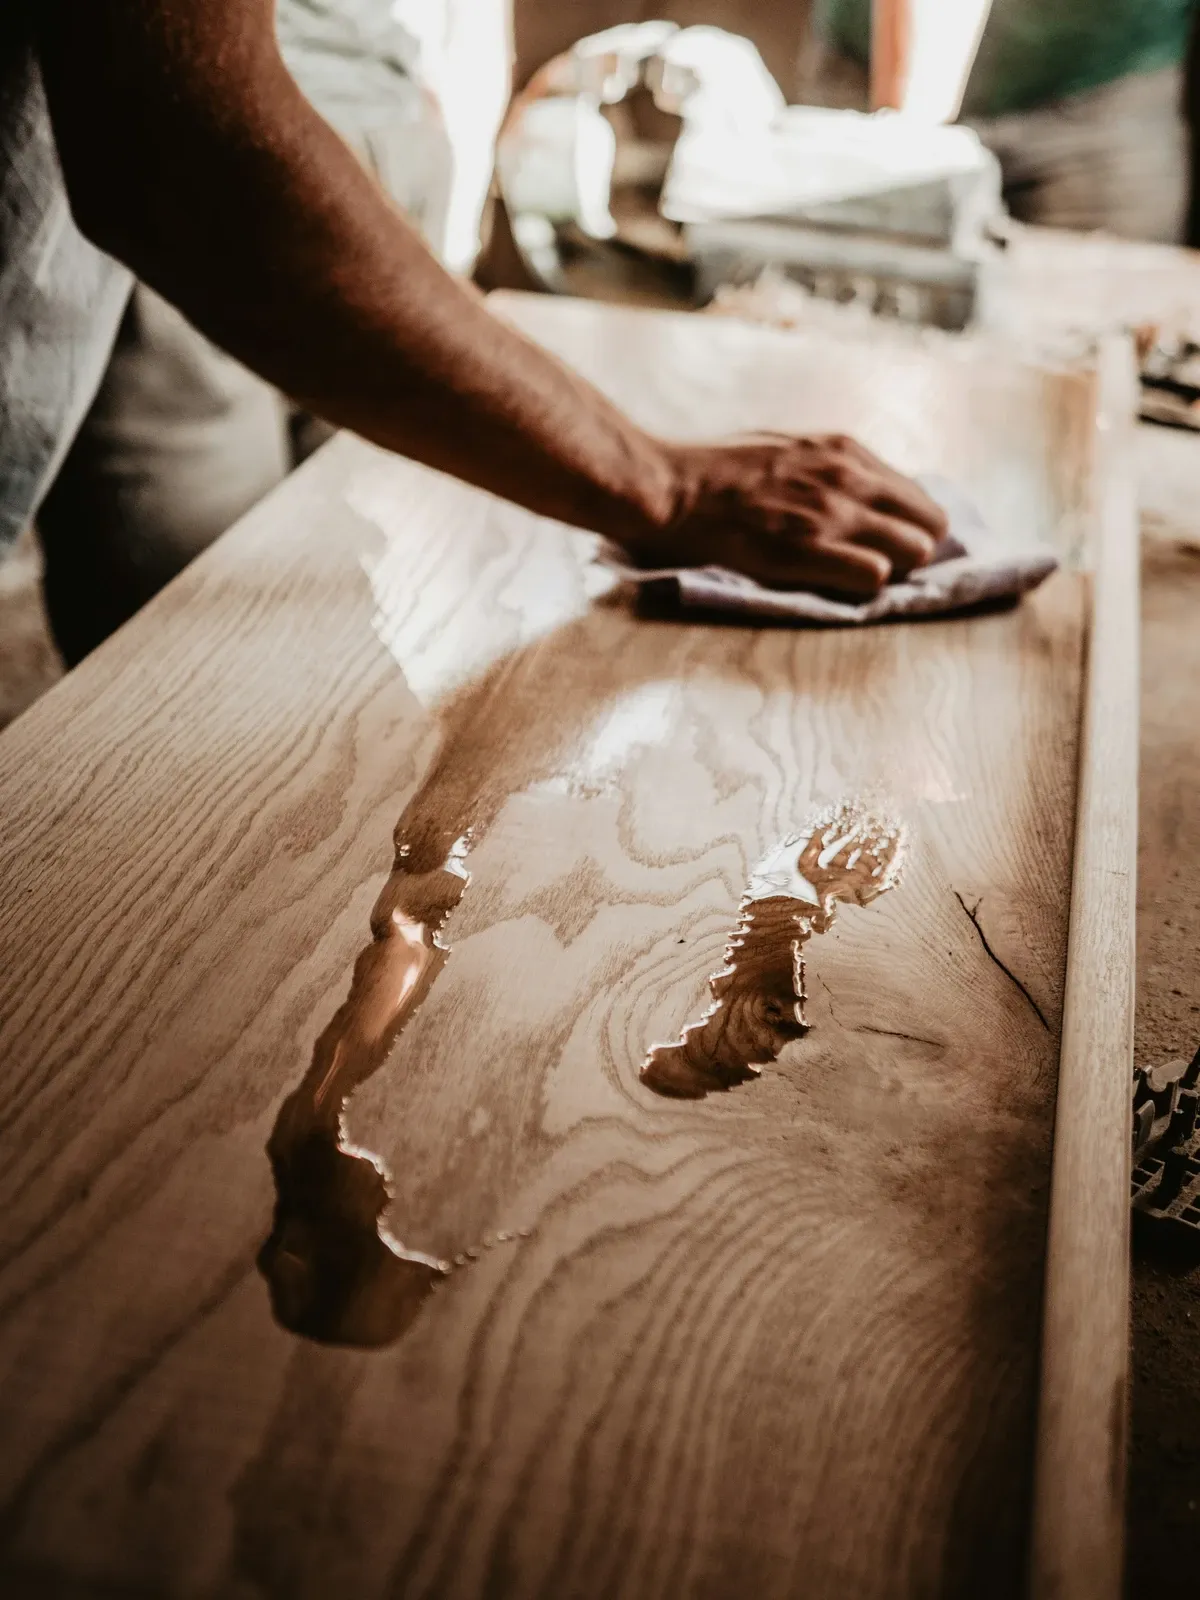
- Fit and seal the top. Cut the top 1 inch deeper than the base for an overhang. Sand to 180 grit, then oil butcher block with a food-grade conditioner or brush a water-based clear coat on painted or pine tops.
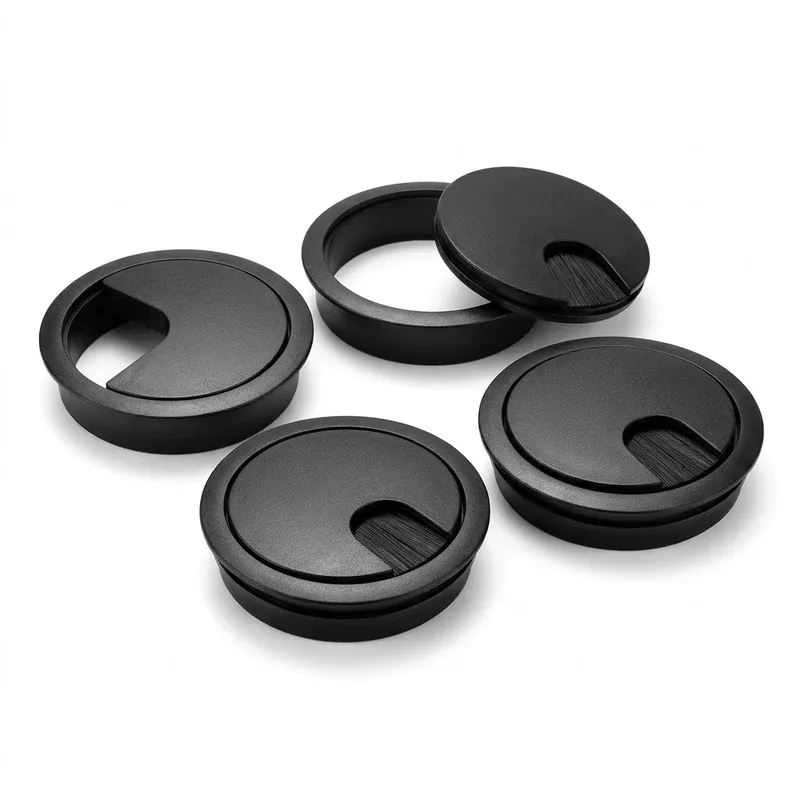
- Route the cord. Drill a 2-inch hole at the back corner and fit a grommet, so the top sits flat against the wall.
- Add storage above. Keep 18 inches between the top and the lowest shelf, the standard gap under upper cabinets, and check it against your machine’s lid-open height.
Shop the build supplies
DIY coffee bar sizes that work
These measurements cover most home coffee makers; the numbers come from standard US kitchen dimensions and the listings above.
| Measure | Target | Why |
|---|---|---|
| Top height | 30 to 36 in | A standard kitchen counter is 36 in; a dresser is often 30 to 34 in |
| Top depth | Machine depth + 2 in (16 to 25 in) | A standard counter is 25 to 25.5 in deep; espresso drip trays pull forward |
| Top width | Machine + 6 in, + 5 in per grinder | Leaves a landing spot for a mug |
| Gap to the first shelf | 18 in | Standard upper-cabinet gap; check lid-open height |
| Cord hole | 2 in (50 mm) | Fits a plug and a standard desk grommet |
| Power | 1 wall outlet per brewer | A 15 A circuit carries about 1,800 W at 120 V |
Kitchen counters in newer US homes are fed by at least two 20-amp small-appliance circuits under the National Electrical Code. A DIY coffee bar in a dining room or hallway may sit on a 15-amp circuit shared with lights, so run one heating appliance at a time.
How do you make a DIY coffee station on a countertop?
A DIY countertop coffee station needs 24 inches of counter near an outlet, a tray or mat to define the spot, and one level of vertical storage. You don’t build anything; you claim a corner.
- Clear a 24-inch run for a pod brewer or a 36-inch run for a drip maker plus a grinder.
- Set a tray or coffee maker mat under the brewer to catch drips.
- Add a 2-tier riser or a single shelf above for mugs and syrups.
- Label canisters so refills go back in one place; my coffee bar labels guide has free designs.
For a station inside the kitchen, use the run closest to the sink so you fill the reservoir in one step. My how to set up a coffee bar guide walks through the zones.
What are the best DIY coffee bar ideas for small spaces?
The best small-space DIY coffee bar ideas go vertical or go mobile: a pegboard or pipe shelf over a 24-inch counter, a 3-tier cart, a closet nook, or a cube shelf under 30 inches tall.
- Pick a slim brewer. A 5-cup drip maker or a compact pod brewer under 10 inches wide leaves room for a mug.
- Use the wall. Mug hooks and a pegboard hold what a cabinet would.
- Use dead corners. The end of a counter, the space beside the fridge, or under the stairs.
- Keep backstock elsewhere. Only the daily items stay on the coffee bar.
My best coffee makers guide lists sizes for compact machines, and the coffee station ideas page has more small layouts.
How much does a DIY coffee bar cost?
A DIY coffee bar costs under $50 for a countertop station, about $100 to $300 for a shelf, pegboard or cart build, and $300 or more for a dresser flip or a new wood top, before the coffee maker.
| Tier | What you build | Main costs |
|---|---|---|
| Under $50 | Tray, riser, jars and labels on the counter | Dollar-store trays and jars, a riser |
| $100 to $300 | Pipe shelf, pegboard wall or rolling cart | Shelf or panels, hooks, lights |
| $300 and up | Dresser flip or butcher block over cabinets | Furniture, slab, finish, hardware |
Dollar Tree and budget DIY coffee bar ideas
Dollar Tree and other dollar stores are good for the small pieces: glass jars, wire baskets, wood trays, chalkboard labels and faux greenery. Spray-paint mismatched jars one color, glue a wood knob to a jar lid, or stack 2 trays with candlestick risers for a tiered stand. Skip dollar-store extension cords and anything that touches heat.
What do you need for a DIY coffee bar?
A DIY coffee bar needs a base, a sealed top, power, storage and a few organizers. Buy them in that order: the base and top set the size, the outlet sets the spot, and decor and accessories come last, once you know what fits.
- Base and top: a dresser, cart, cabinets or cleared counter, with a sealed or oiled top.
- Power: a wall outlet within cord reach and a 2-inch grommet for the cord.
- Storage: shelves, a pegboard or drawers for mugs, beans, filters and pods.
- Organizers: canisters, a pod drawer, a lazy Susan for syrups, labels.
- Decor: a sign, a plant, under-cabinet lights.
For a full shopping list, see my coffee bar ideas and the coffee bar organization guide. Ready-made furniture is in my coffee bar cabinet guide if you’d rather skip the build.
Frequently asked questions
How much does it cost to build a coffee bar?
A countertop coffee station built from a tray, a riser and things you own costs under $50. A wall build with a pipe shelf or pegboard runs about $100 to $300. A dresser flip or a new wood top over cabinets lands at $300 or more, mostly for the furniture and the slab.
Can you turn a dresser into a coffee bar?
Yes. A dresser 30 to 36 inches tall works as a coffee bar if its top is at least 2 inches deeper than your coffee maker. Seal the top, drill a 2-inch cord hole in the back panel and strap the dresser to a wall stud, because a full top drawer can tip it forward.
Do you need an outlet for a coffee bar?
Yes, if you brew with a machine. Plug the coffee maker straight into a wall outlet, not an extension cord. A 15-amp circuit carries about 1,800 watts, so a 1,500-watt pod brewer and a 1,100-watt drip maker shouldn't run at the same time on one circuit.
What wood is best for a DIY coffee bar top?
Butcher block (maple, acacia or walnut, usually 1.5 inches thick) is the most common pick because it's thick, flat and easy to oil. Sealed plywood or pine boards cost less. Every option needs a finish, because coffee drips and mug rings soak into bare wood.
Free coffee bar size worksheet
Six numbers to measure before you buy a cabinet, cart or machine, plus a page of typical machine sizes and cabinet clearances.